Online teaching can’t be efficient unless you attract learners. If you can’t promote it in various ways, you’ll not attract them. We are showing you how to start a personal teaching blog, which will assist you to promote your online course. Through learning these 5 steps to set up your blog, you’ll be able to share your teaching expertise with more students.
The benefits of blogging:
- Blogging provides detailed information about your courses to your students – you can share the benefits of your online courses in a written format in your blog.
- Blogging serves as a reference website for homework and assignments – you can refer to your blog during your online session and use its content as part of an assignment or homework.
- Blogging shares testimonials from happy customers – this is a perfect place to share any feedback that you have received from happy students.
- Blogging brings in potential clients in the form of subscribers to your blog content – last but not least, you can insert a sign-up sheet on your blog and allow interested students to subscribe to and receive new articles and news.
Steps to creating your teaching blog
As a teacher, you are probably used to writing down your notes and ideas in a notebook and the thought of transferring this process online may sound scary. However, once you see how easy it is to create and develop your blog, you will love it.
Here is a guide to the major steps needed to set up your blog:
- Choose a blogging platform
- Register a domain name and a web hosting platform
- Select a design and template
- Modify your theme
- Write compelling content
1. Choose a blogging platform
There are many options when it comes to choosing a blogging platform. As we mentioned in our 7 steps to sell your online course article, there are several platforms that allow you to start your blog for free, such as WordPress, Wix, Blogger, etc.
Although all of these are very user friendly, the WordPress blog platform is used by more than 72 million people in the world today – including even NASA and Facebook – for the following reasons:
- It is free to use and easy to set up.
- It provides tons of free themes and layouts – WordPress supports the largest amount of themes out of all of the platforms.
- It is secure and always up to date – WordPress regularly updates its software, which significantly reduces the danger of your blog being hacked.
- There is a large support forum – there is always someone available to answer any questions that you might have.
- It is highly customizable – you can choose from hundreds of plugins, contact forms, and subscription boxes.
2. Register a domain name and a web hosting platform
When using a free blogging platform, we recommend that you use its free themes and layouts, but go with a self-hosted domain. What does this mean?
Your domain name is actually the web address of your blog, for example,
www.mrsmithblog.com.
If you choose to host your domain for free on the WordPress platform, your domain name will look like this:
www.mtsmithblog.wordpress.com.
This is a bit long, don’t you think? Having a shorter and catchier name is just one of the reasons to self-host your blog. Other benefits include the fact that you control your own content and you will be able to advertise in your blog in the future.
After you decide how to name your blog, the next step is to choose a web hosting platform. The web hosting platform is basically the website that puts your website on the internet and saves all your data.
3. Select a design and template
So far you have chosen your blogging platform and made a decision on your domain name and web hosting company. You are now one step away from getting your blog up and running.

The next important step to take is to choose the right theme for your blog. The theme represents how you want your blog to look, how the menu will be ordered, what pages you will have, etc. If you decide to go with WordPress, you can peruse the thousands of themes that they offer.
Remember, your theme can always be modified: the important thing is to initially choose a theme that is frequently used and that has the least amount of bugs and problems – this can be easily checked in the support forums beforehand.
4. Modify your theme
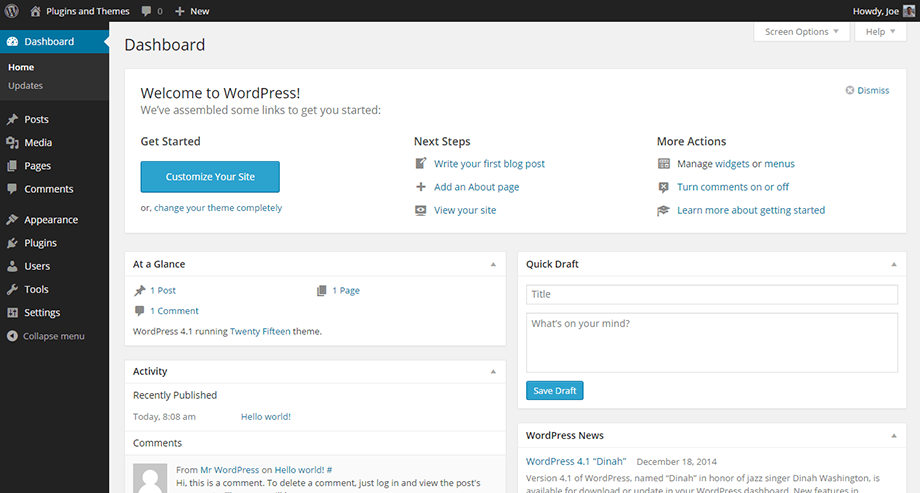
Once you choose your theme, you can set up your pages, insert plugins, add contact forms, move modules, change pictures, etc. You will quickly notice that the WordPress admin panel (the administrative panel from which you actually control your blog) is pretty easy to use.

You can go through all of the available plugins and choose to add buttons for your social channels. It is a good idea to set up a button for your visitors so that they can subscribe to your new posts and newsletters. You can choose among several software apps for this purpose and here is a quick comparison of the most commonly used ones. The other thing that we highly recommend is for you to install Google Analytics on your blog so that you can obtain statistics on visitors and receive valuable information about their demographics and interests.
5. Write compelling content
Don’t forget that, in the end, it is the content that you share on your blog that will bring visitors, rather than the theme, the domain name, or the web hosting platform. Be creative, share important information, tell your teaching stories, follow the trends in the industry, and comment on them in your blog.
If you are still wondering whether or not it is worth starting a teaching blog, here are some inspirational articles that you can refer to:
