Once you have created a course, you are ready to start filling it with content. To do this, you first need to add teachers, create lessons and sections in the LMS lessons. After that, you are ready to start filling your sections with the content your students will have access to as part of the course. Add teachers, create lessons and sections in the LMS
Add teachers
To add teachers to your course, go to the Courses menu. This brings you to the courses list where you can select the desired course for edit or create a new one.
After choosing the course, a new window will open. You can add a teacher for your course from there.
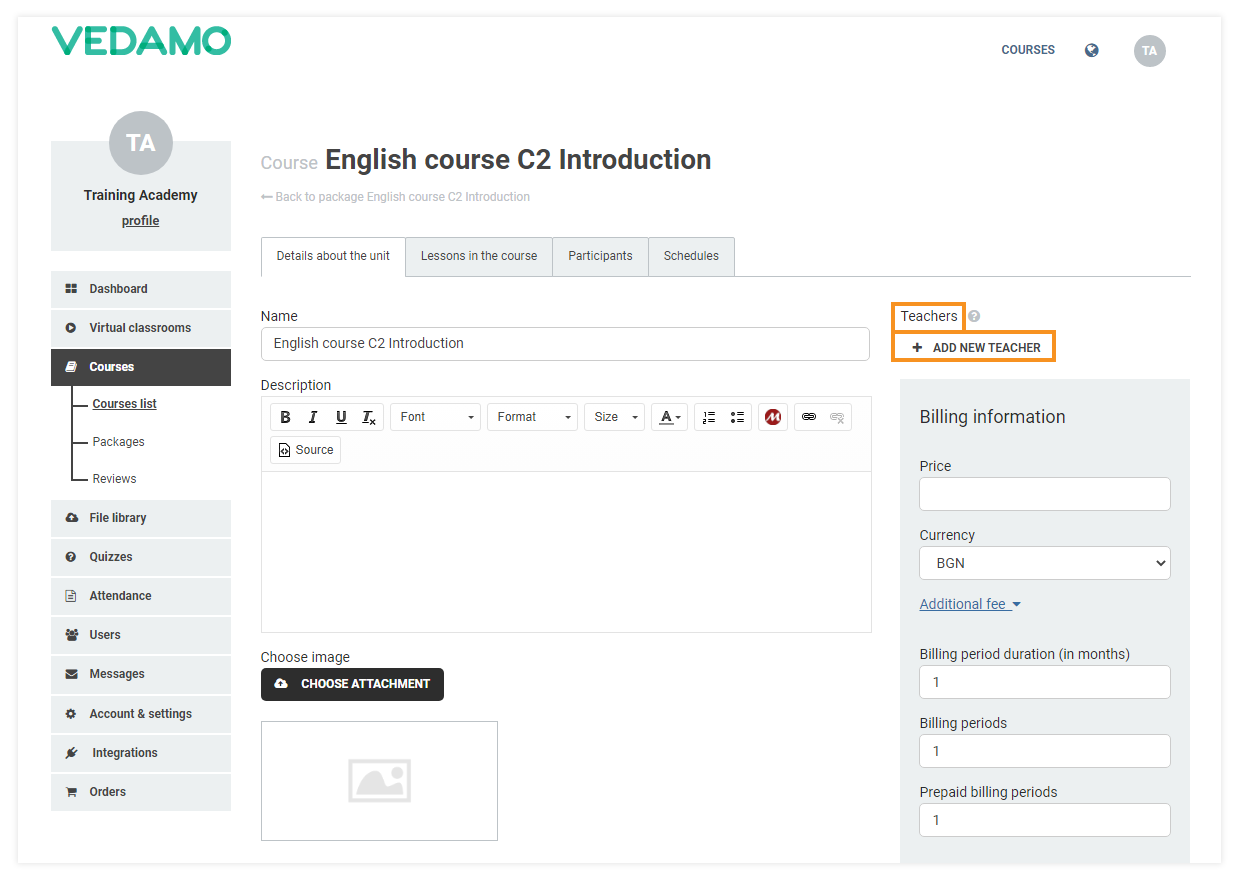
Click on + Add new teacher and a new window will open. It contains a list of all registered teachers.

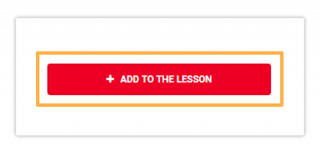
To select the teacher you want to assign to your course, tick the box to the left of their name. Once done selecting a teacher, go to the bottom of the window and click on + Add to the lesson.
You can then see the teacher(s) you added by going to the Details about the unit tab.
Creating Lessons
You can create lessons for your course by clicking the Lessons in the course tab.
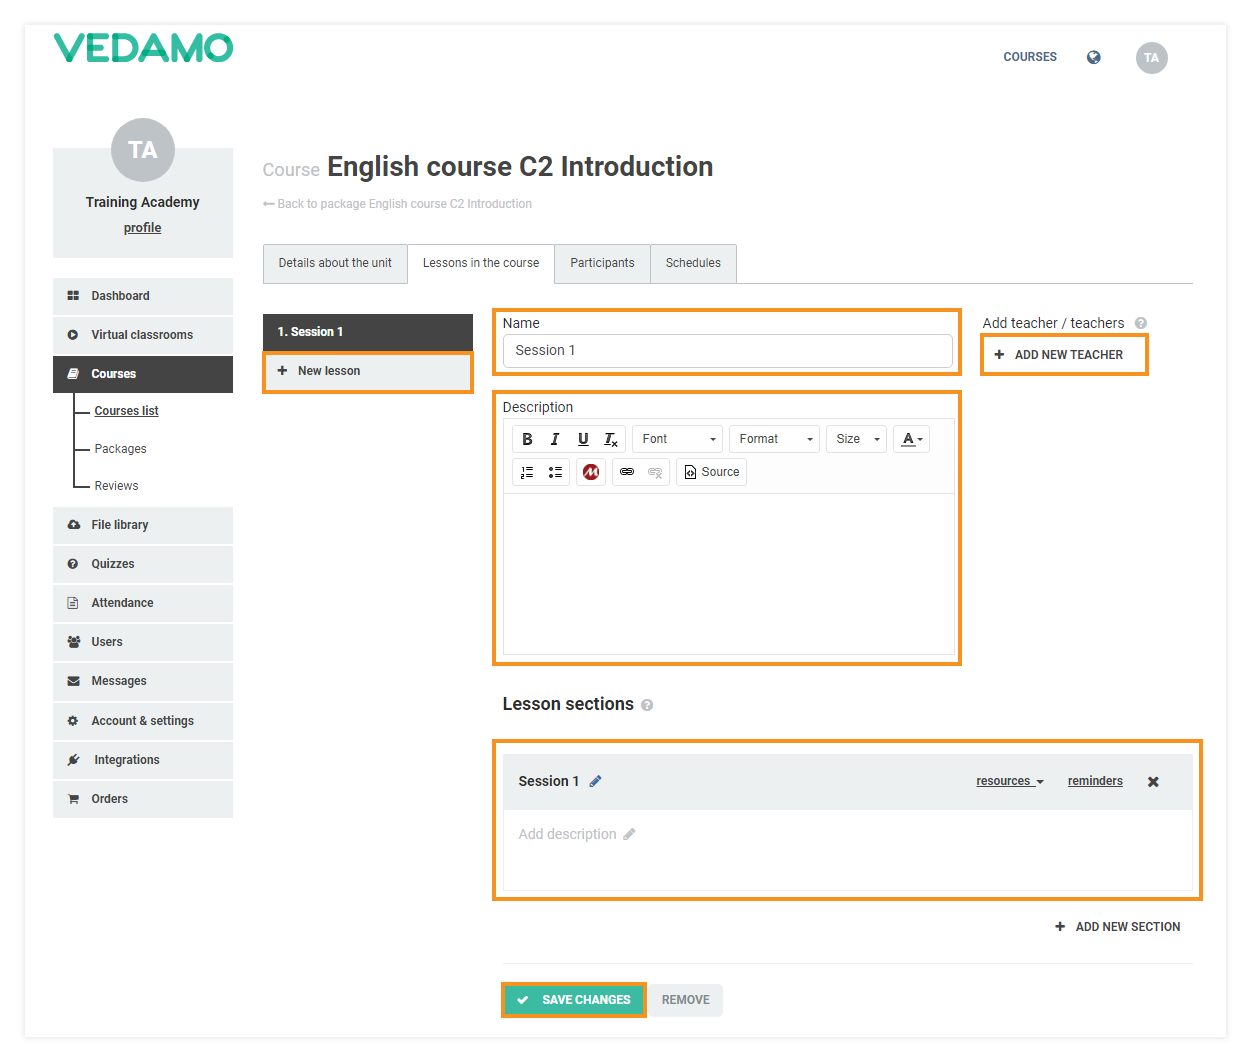
To add a new lesson click on the + New lesson button.
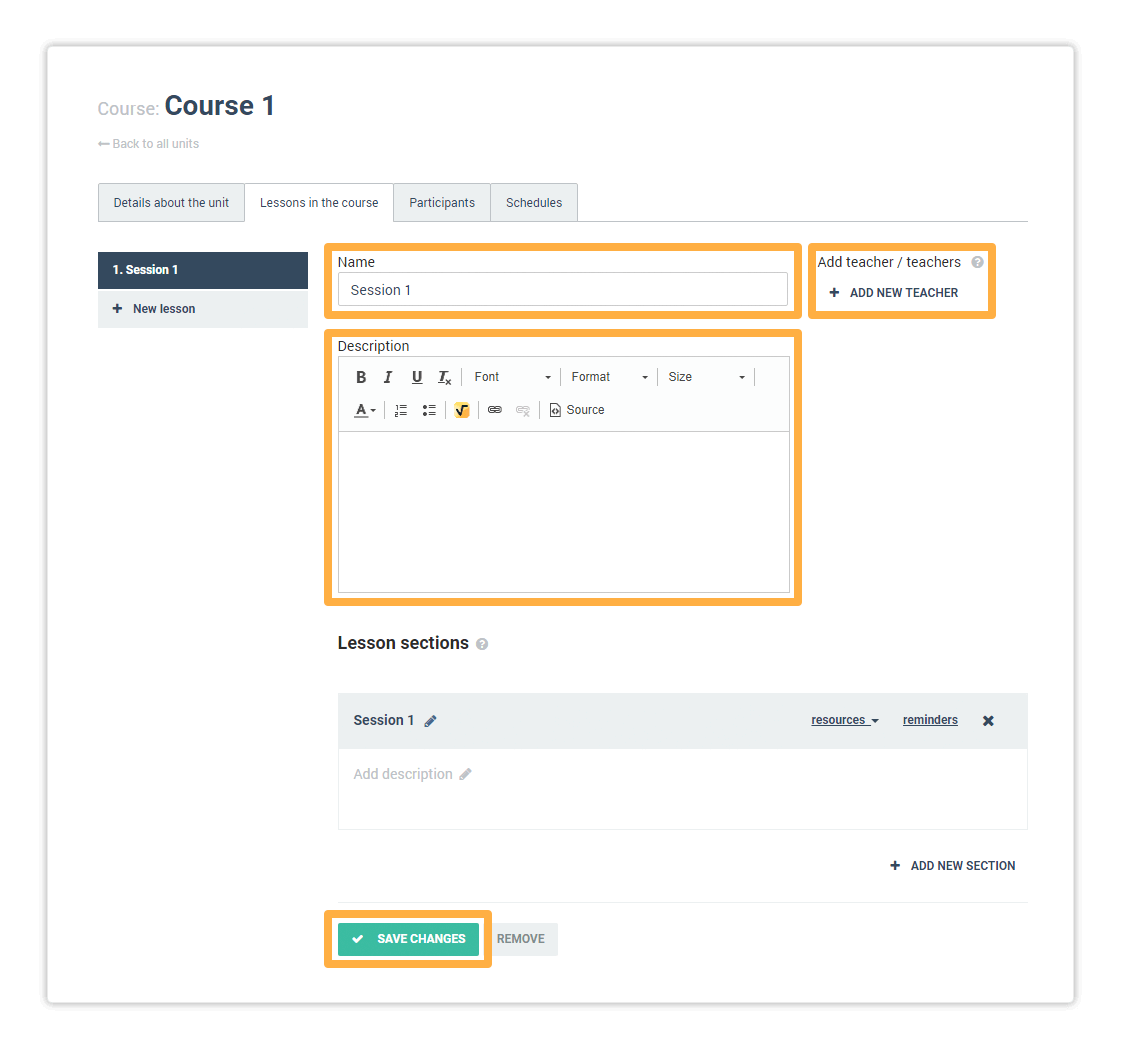
Enter the lesson a name, you can add a brief description and, if you prefer, you can also add teachers other than the ones listed in the Details about the unit tab by clicking the + Add new teacher button.
Click Save changes to save the newly created lesson.
Creating Lesson Sections
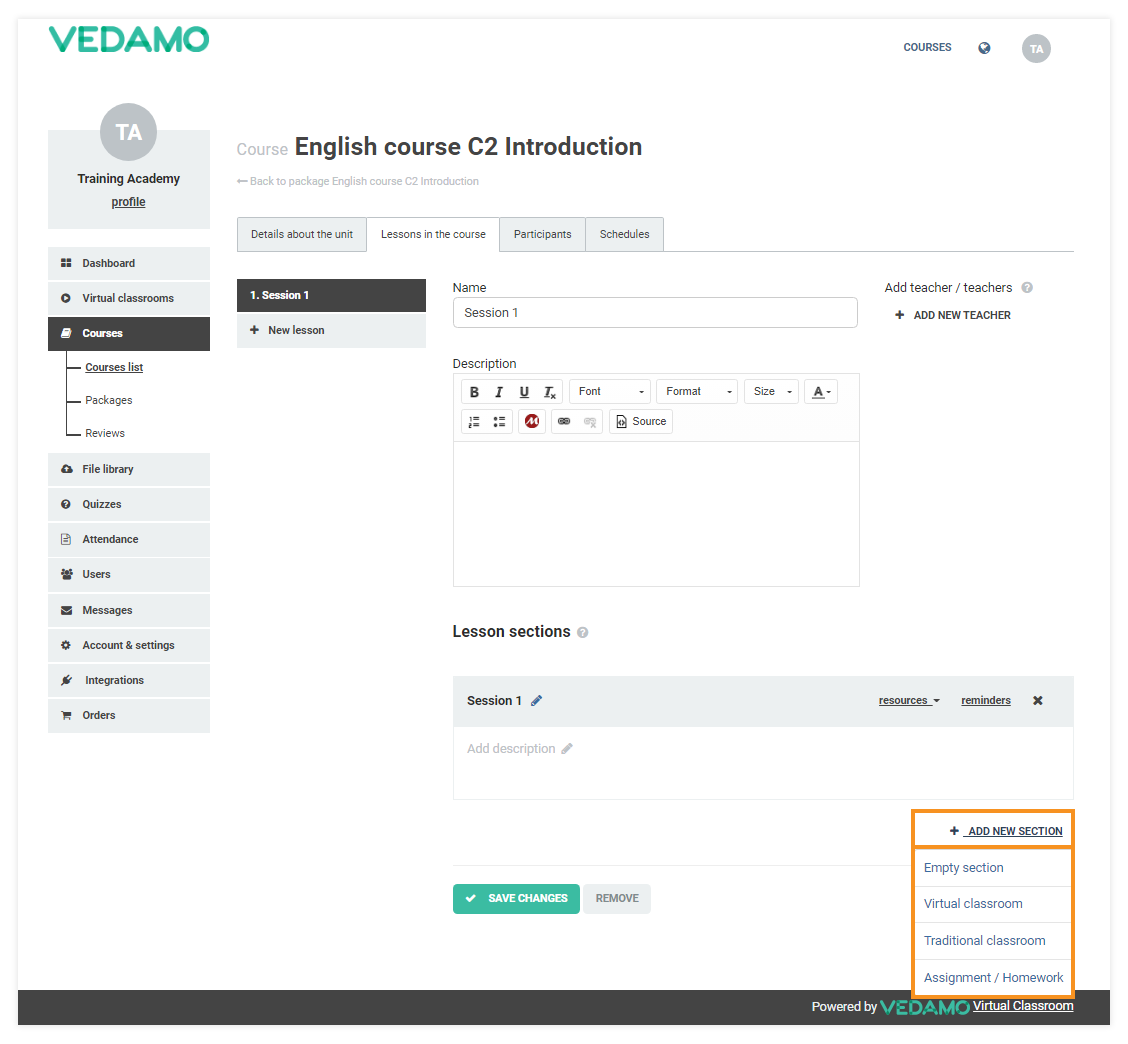
For each individual lesson, you can create a section that can include either a Virtual Classroom or a Traditional Classroom, Assignment/Homework, or just an empty section.
Click on + Add new section to add a section to your already existing lesson.
- Clicking on Empty section will just add an empty section to a lesson. The Empty Section allows you to attach different materials for your students to access.
- Clicking on Virtual Classroom will add a Virtual Classroom to this lesson. The assigned teacher can open that virtual classroom up to 60 minutes prior to the start time specified in the schedule. See more information on how to open a Virtual Classroom from your Dashboard.
- Clicking on Traditional Classroom will allow you to add an offline, physical classroom session to the lesson. You can then also modify the date and time of that session through the course schedule.
- Clicking on Assignment / Homework will add an assignment/homework for your students to take and work on (only during the scheduled time).
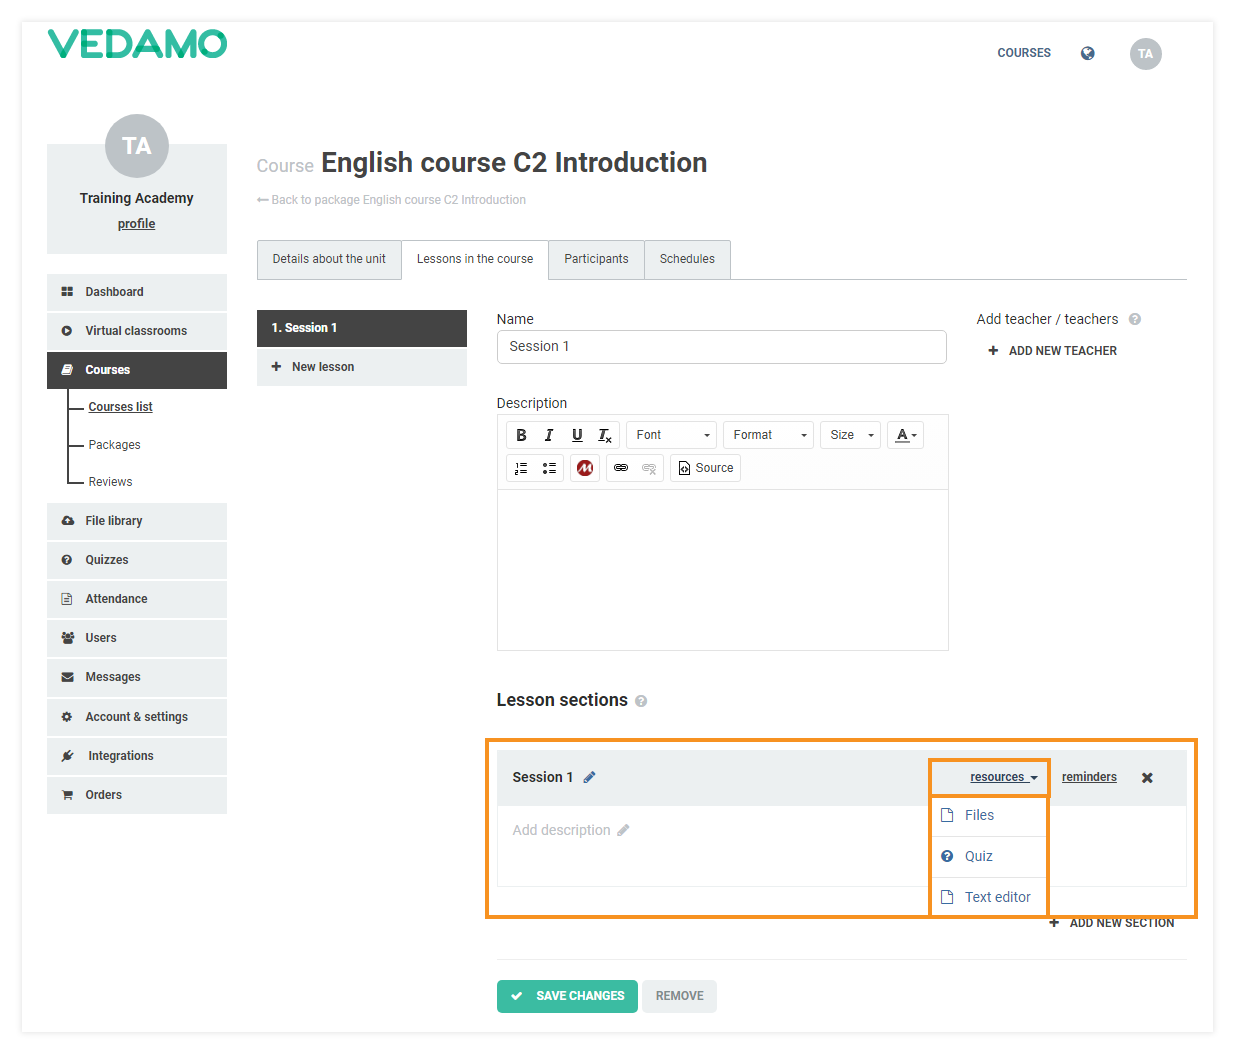
- Once you have made your desired changes, click on Save changes in order to save your progress. When you are finished creating the sections you need for your lesson, you can attach content such as files, quizzes, or notes for your students to read. You can do that by selecting the appropriate option from the resources dropdown menu in the header of each section. You can also rename your sections as necessary by using the pencil icon next to the section’s title. Once done, click on the tick next to the new name to submit it, or press the X to cancel and revert to the previous name.
Now that you have organized the content of your lessons and assigned a teacher, it is time to set a schedule for the course. Tips on how to do that can be found in LMS Course Schedule.