Accessing LMS Messaging System
By default, you are given access to the LMS Messaging System which allows internal communications between accounts in the LMS. It is also the place to check any messages and notifications you may receive either automatically from the system or manually from the Organizational account.
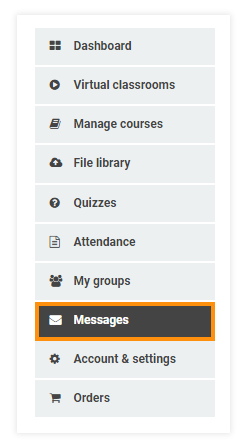
This section of the Dashboard menu may be used for communication by anyone who has an account in your Academy. This includes students, teachers, and administrators.
Once you have chosen the Messages tab from your Dashboard, you will be able to see your Inbox. This is where you will be able to see any incoming messages and notifications from anyone in your Academy.
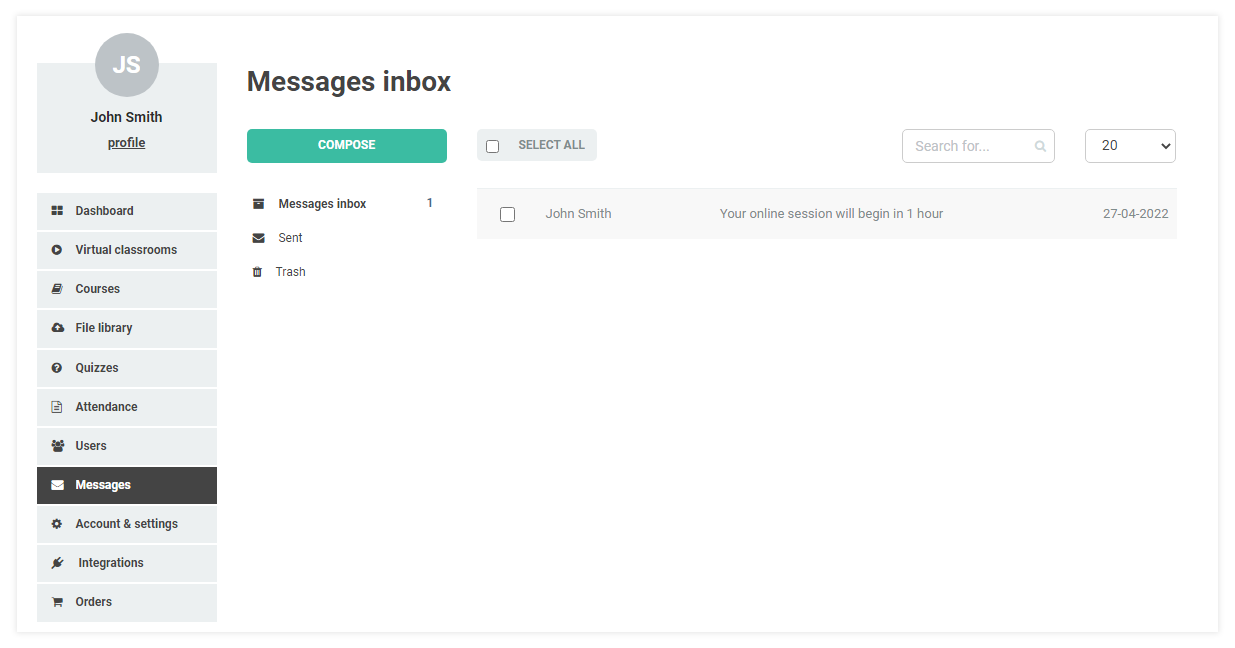
The screen below is how your inbox will look when empty.
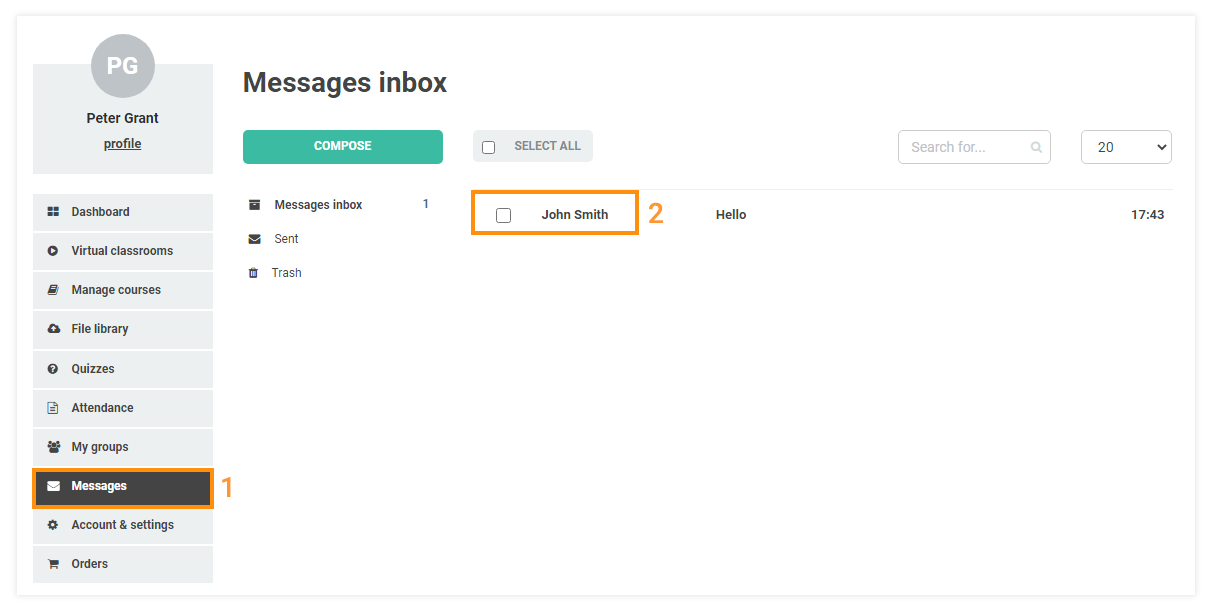
This is how your inbox will look when you have received a message.
Sent
Via the Sent button you have the option of viewing the messages you have already sent.
Trash
Under the Trash sub-section, you will be able to view all the messages you have marked for deletion.
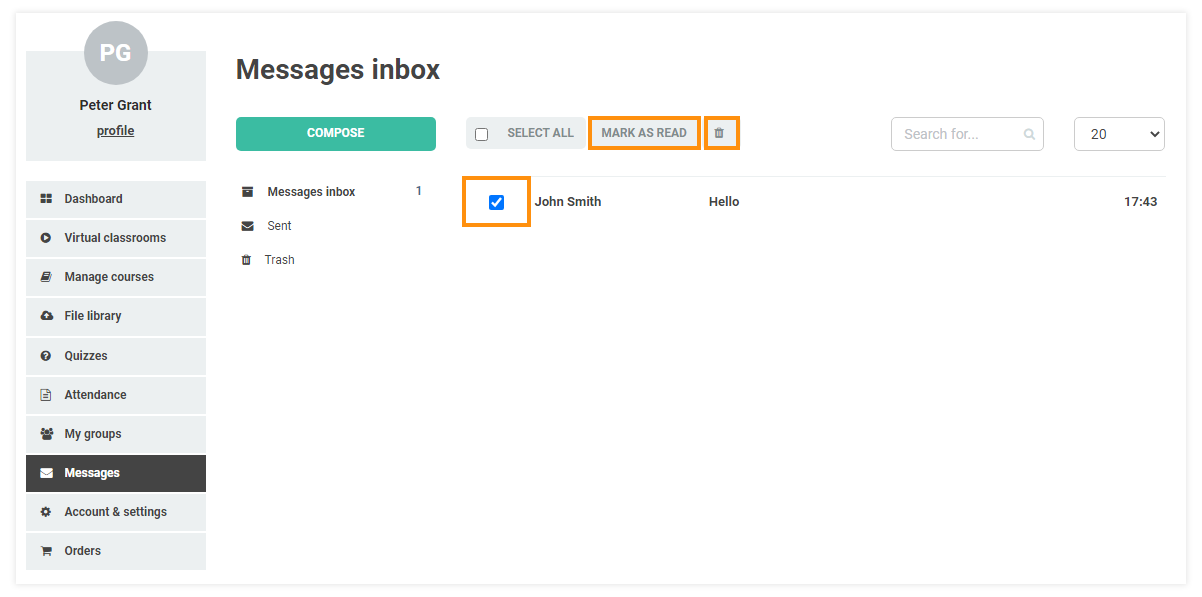
You can mark one or more (even all if you use the select all option) messages by placing a tick in the box next to the message(s) in question. Once done, you will have several additional options:
- Mark as unread/read: You can mark the message as either read or unread, depending on its current status.
- Trash icon: You can either mark the message as read/unread or send it to the trash sub-section.
- When one of you messages has been sent to the Trash sub-section you can view it from there. You have the option of restoring it to the Inbox or Sent sub-sections, marking it as unread, or deleting it permanently.
Compose a message
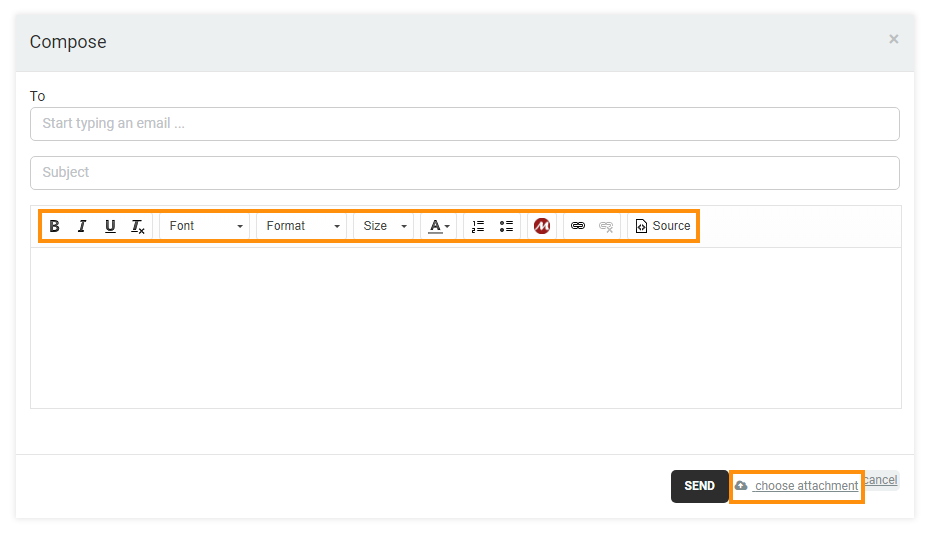
To compose a new message, click on the green Compose button.
All of the standard text formatting options, such as making your text bold, italic, underlined, strike-through, etc., will be available to you.
You may attach a file to your message via the Choose attachment button.
You also have the option of placing a link inside your message via the icon.
Typical notifications you may receive include:
- Purchase notification: You get this as a student after having subscribed to a course;
- Upcoming lesson notification: You get this as either a student or teacher 24 hours and 1 hour before the lesson that you are taking part starts;
- Lesson invitation: As a student, once a tutor opens a virtual classroom for one of your lessons, you will receive a notification with the link to the virtual classroom.
Note: You will have to use the same email that was used for signing in order to sent (compose) any messages to the other users.
All of the notifications you receive in your account will also be sent to you as emails.
