LMS User Groups Description
LMS User groups is an option within the learning management system that lets Administrators and the Organisation account bundle registered users’ accounts within their subdomain into custom groups.
User groups menu
The user groups menu allows you to:
- Create a group with any number of members;
- Review and edit the group’s enrollment in courses;
- Enroll the entire group in any course;
- Assign learning materials to the group, e.g., files and quizzes;
- Add notes that all members of the group can read.
To access the user group’s administration, click on the Users option in the left side menu, then choose the Groups sub-menu.
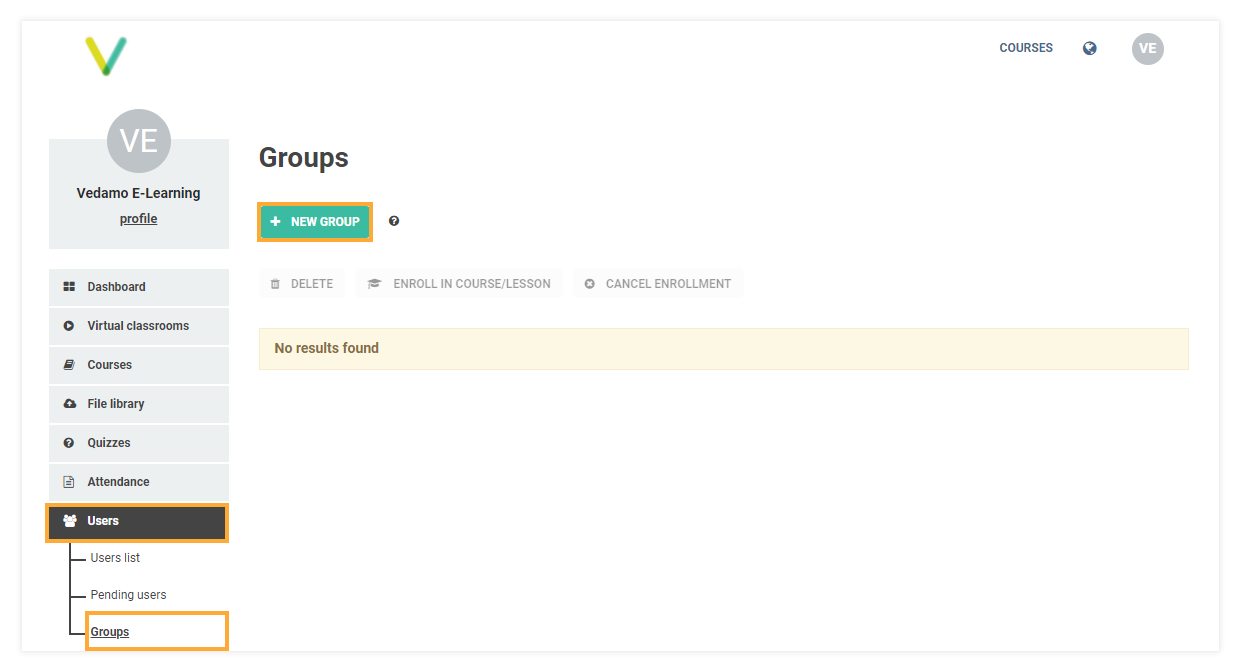
Create a new group
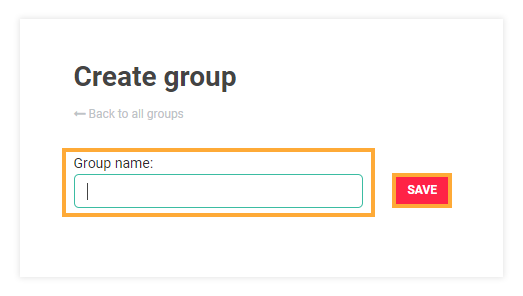
In order to create a new group, click on the +New Group button and type in the group name. Then click on Save to create the group.
Once the group has been created, you can access the Resources and Courses and single lessons tabs.
Resource management
The Resources tab allows you to manage all files, quizzes, and notes attached to the group.
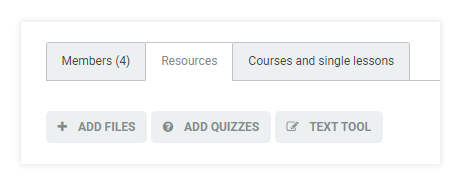
- To add and assign files to the group, first, click on the +Add files button. This will open a new window that will allow you to upload new files, either directly from your device or from the File Library if there are such files already uploaded there.
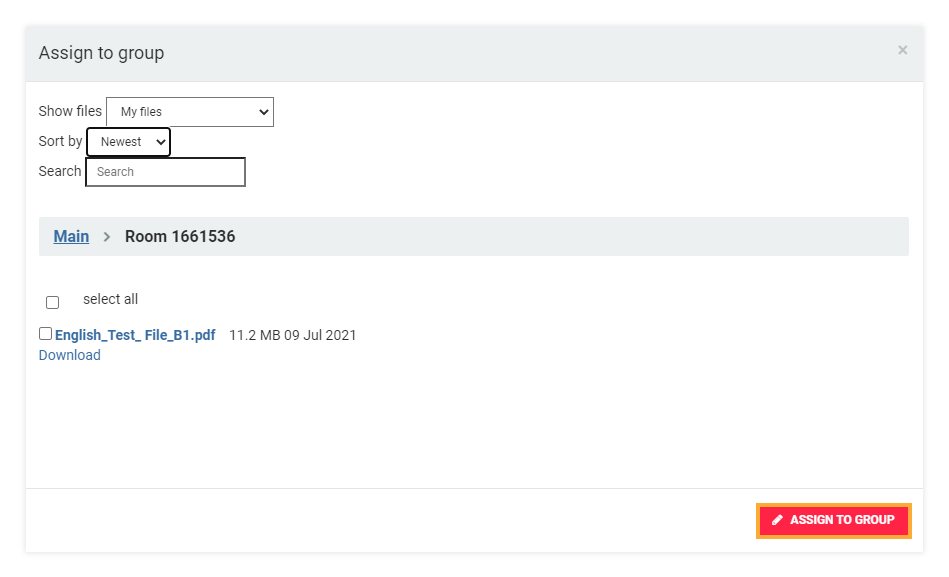
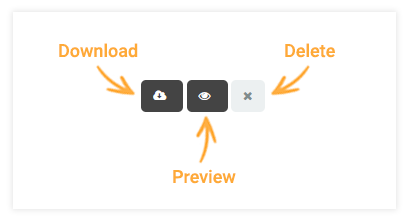
You can download, preview or remove files by using the associated buttons on the right side of the screen once you have assigned files to the group.
In case you want to create a folder to use for rearranging your learning materials, click on the +Add folder button on the right side of the screen. If there is a file you would like to move to a different folder, tick the box next to the particular file and then click on the Move button, which will appear on the right. Should you wish to remove it, simply click on the Remove button.
- Click on the Add quizzes button in order to assign a previously created quiz to the group or create a new one by pressing the Create quiz button on the window that will appear.
- To add a note to the group, use the Text Tool, which will open a new window that is similar to the Text Tool in the Virtual Classroom.
Course enrollment review
In the Courses and Single Lessons tab you will be able to see all the courses and lessons the group is enrolled in.

Adding members to user groups
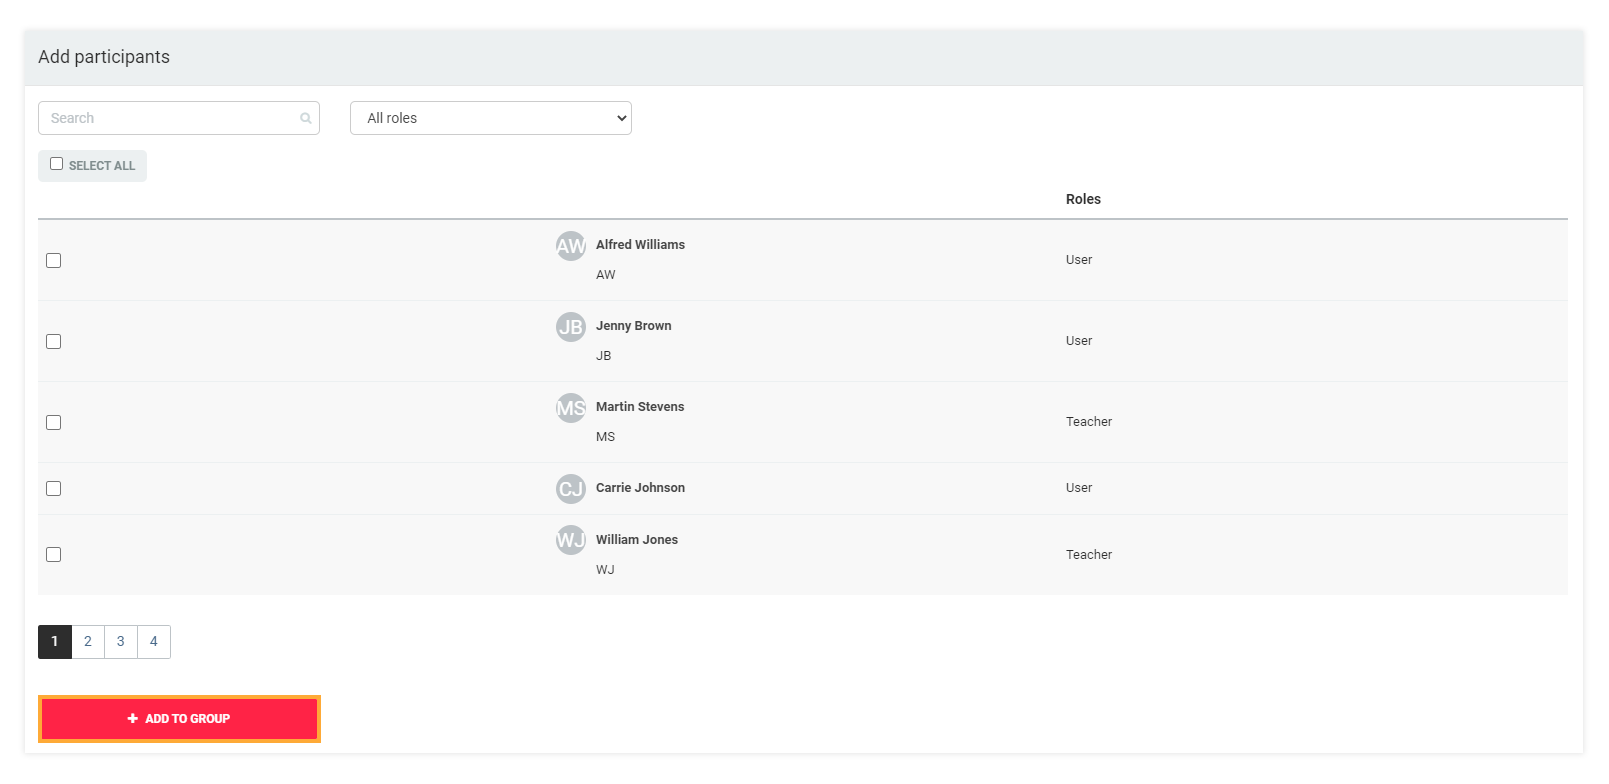
Choose the accounts you would like to add to the group by clicking on the +Add new member button. In the new window, tick the box next to the name of the member you want to add, then click +Add to group. Also, you can search by name or use the filters, and search by role. Any group you create will be empty by default and you can add participants at any point.
Remove participants from the group
You can remove a member from the group and add them back at any time.
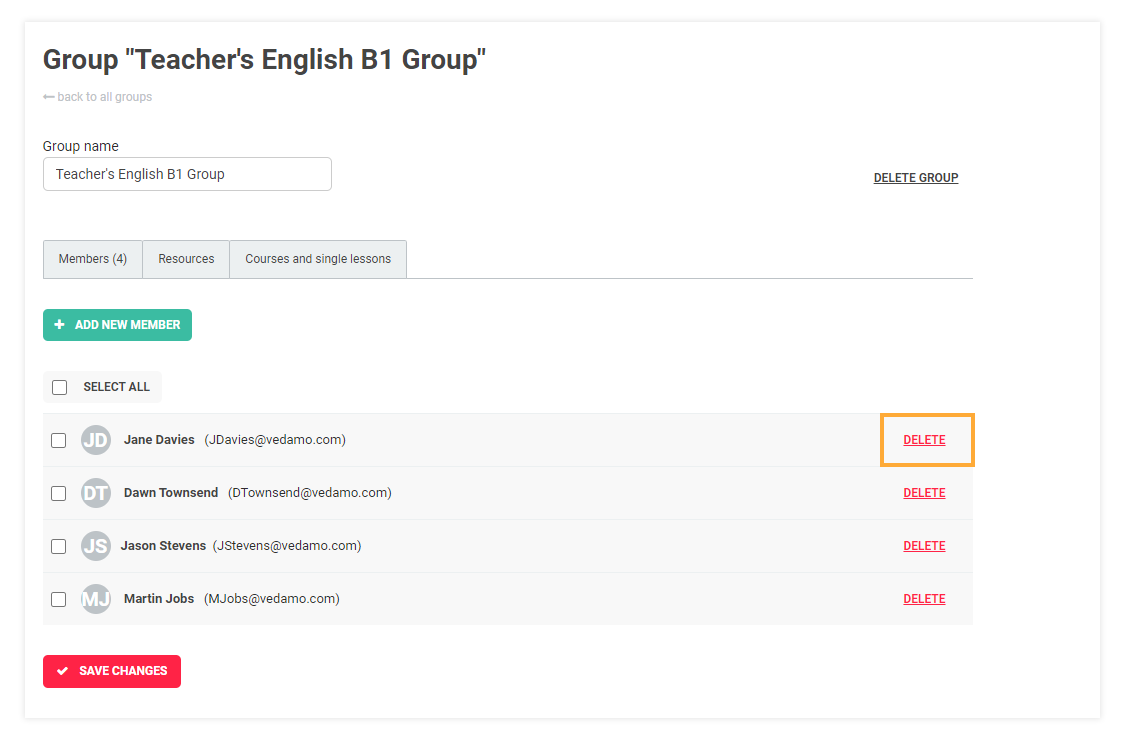
To remove a member, enter the group and hover over the row with your chosen participant’s name. On the rightmost end of the row, you will see the delete option appear. Click on it to remove the member from the group.
NOTE: A prompt will appear asking you to confirm that you want to remove the participant. Once you click on OK, the participant will no longer be a member. Their account will not be affected in any way and you can add them at any later point as described above.
Editing and Assigning a Group to a Course
When navigating to the Groups sub-menu from the left side menu, you can see a list of all created user groups. You can edit a group at any point by going to the Groups menu and clicking the edit button.
To edit course enrollment for group members, select the group by using the box on the left, then select either the Enroll in a Course/Lesson or Cancel Enrollment button from the right side.
Note: The group has to be marked in order for all settings to be available.

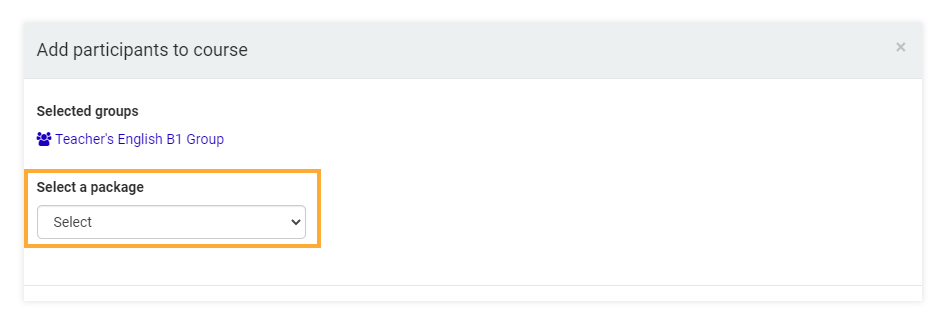
A window will appear prompting you to pick the Course Package you need to enroll in or cancel your enrollment altogether.
- Click on the selected group;
- Click Enroll in a Course/lesson and select the course you want to enroll them in. Then just confirm by pressing the Save button.
Deleting user groups
You can delete any group, including all its content and settings.
To delete a group, open Groups from the left side menu and select the user groups you want to remove. Afterward, click on the Delete button on the right side of the group’s name.

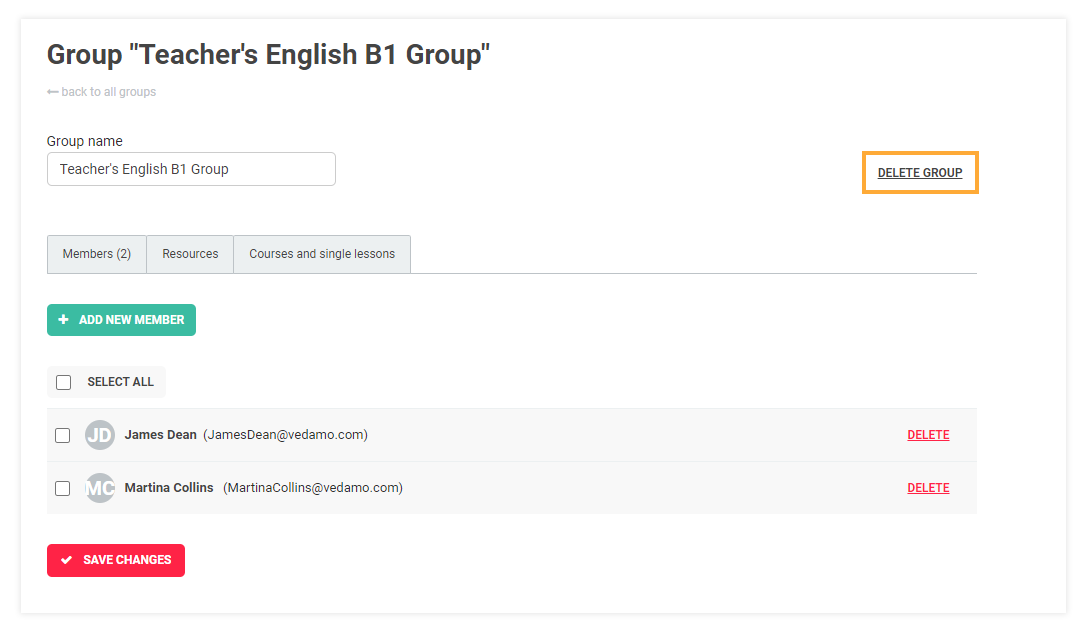
Alternatively, you can enter the group and click on the Delete Group button in the upper-right corner.
Now that you have set up your users’ accounts and arrange them into groups, you can proceed to create packages and courses. The next few articles will outline that process.