The Virtual Classroom Templates functionality allows you to save and reuse all the content that you have created or uploaded, and shared on the whiteboard pages, including the uploaded files, the groups, and the multimedia files in the media player.
Templates are a tool for hosts to save their content including:
- texts, images, and objects on the Whiteboard – all pages on the Whiteboard in all groups
- uploaded files – all files you have uploaded in the Uploaded files box (the paper clip)
- groups – the groups you have created and the content in them
- media player files – the media files in your Media Player, as well as their positions in the playlist.
TABLE OF CONTENTS:
Create a Template
Only hosts have access to template creation, which they can only create from inside the room.
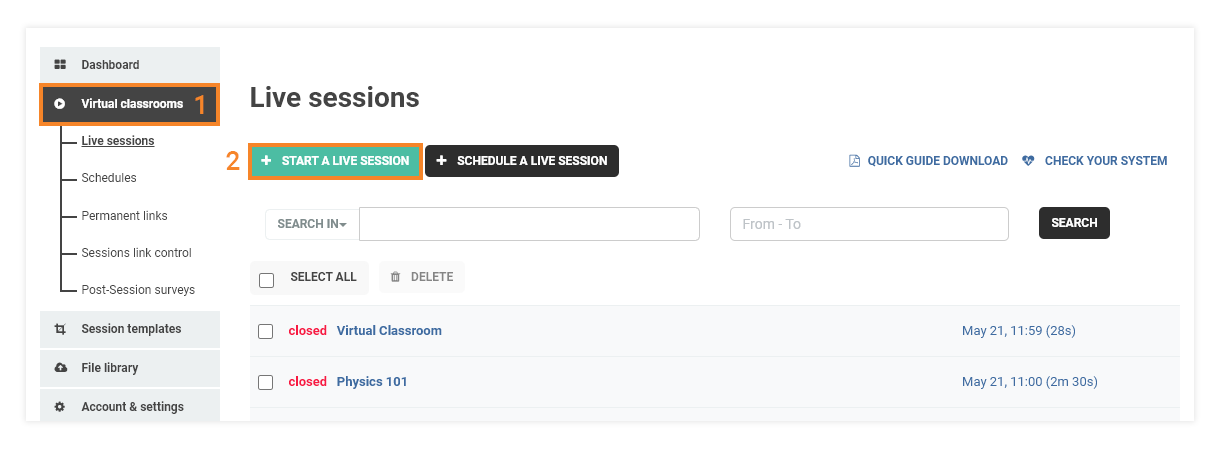
1. Start a new live session.
You can open a virtual classroom from the “Virtual classrooms” section.
Another option is to open a live session specifically for creating a template. This type of session cannot be entered by any other participants, except the host. You can create it by going to the “Session templates” section, and press the “+ Create a new template” . You will then start a “Template session”.

2. When you are already in the room, upload the files and materials you need.
3. Create as much content as you’ll need for the lesson – pages, groups, media playlist, etc.
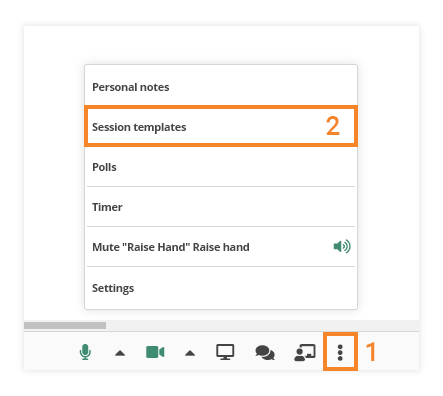
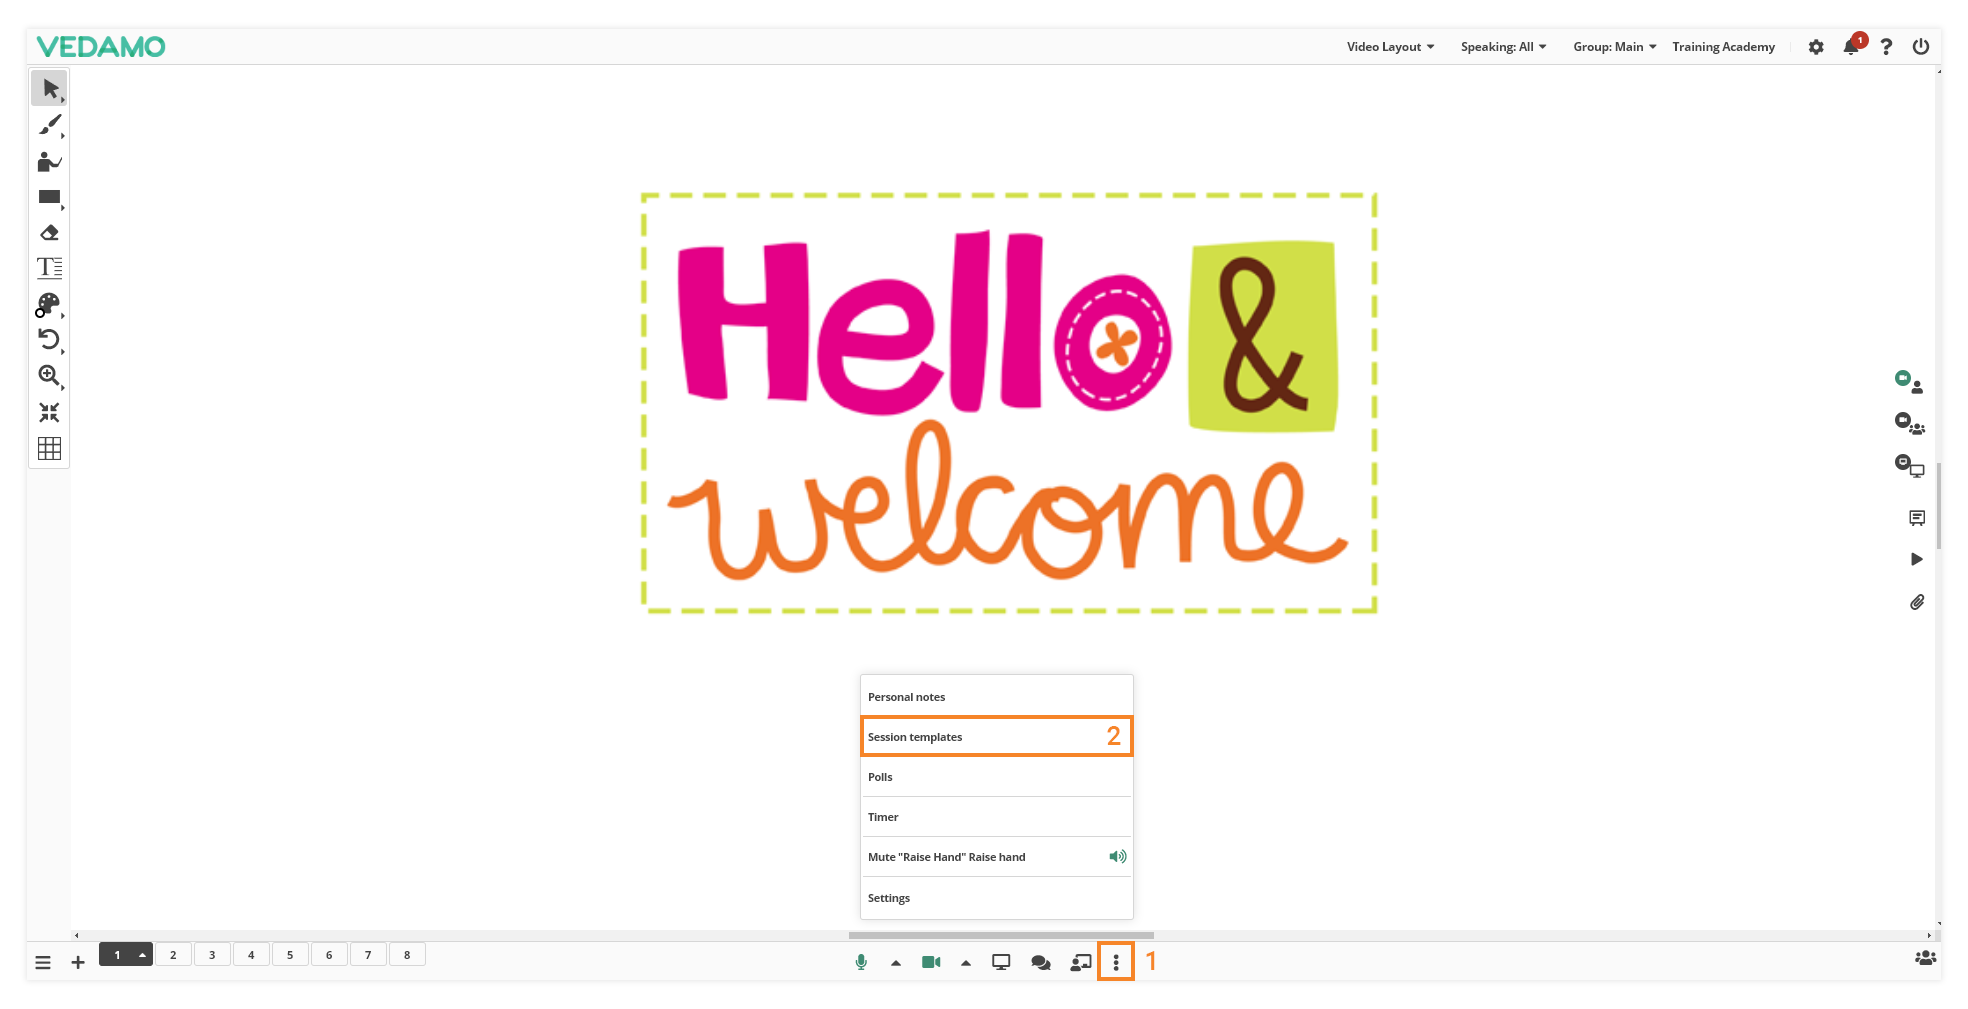
Click on the Three dots sign, then choose “Session Templates”. A new “Templates” box will show up. Choose the “Create Template” button in the upper left corner of the box. Enter the template’s name, and click on “Create Template” in order to save it.

When saved, it will appear in the list.
If the template has a long title, only part of it will be shown. You will see three dots that indicate this. Hover over it to see the whole title, or resize the box (drag its lower right corner in order to do so).

Note: Templates will not save correctly if you hit the “Create template” button before the files are fully processed and converted. Wait for the files to convert before saving the template.
Note: While creating the template, do not include the following symbols in the title (bear in mind that your template may not be saved if you use any of them):
Example: ^ ; , & < > . ? | + $
Find and load a Template
To load a template, you need to enter a virtual classroom (either new or reused).
Click on the three dots sign and then press “Session templates” to view the list of the virtual classroom templates:
A new “Templates” box will pop up.
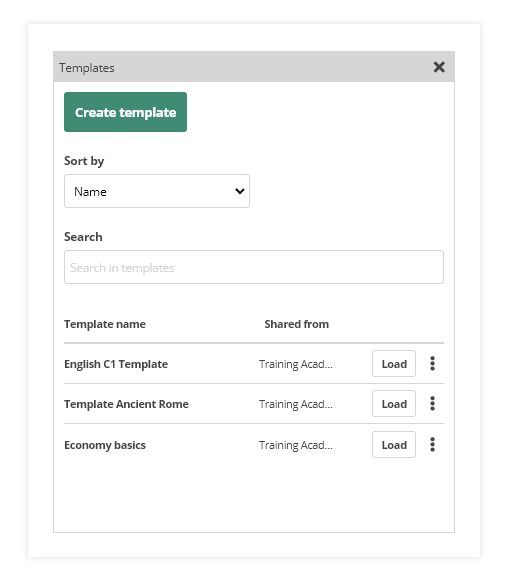
Choose different criteria to sort your templates, so that you can quickly find the one that you are looking for. You can do that from the “Sort by” drop-down menu (the default state is “Date Last”).

Or just enter the name of the template in the Search bar.

Click on the “Load” button in order to visualize the content of the template on the Whiteboard.

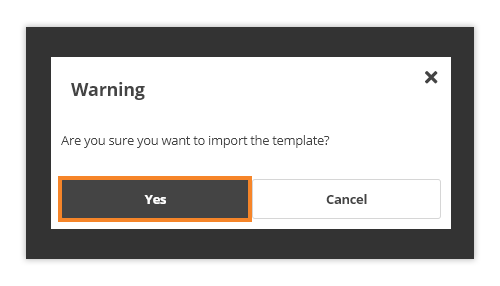
The system will ask you to confirm that you want to import the template. Click “Yes” in order to proceed.
Update an existing Template
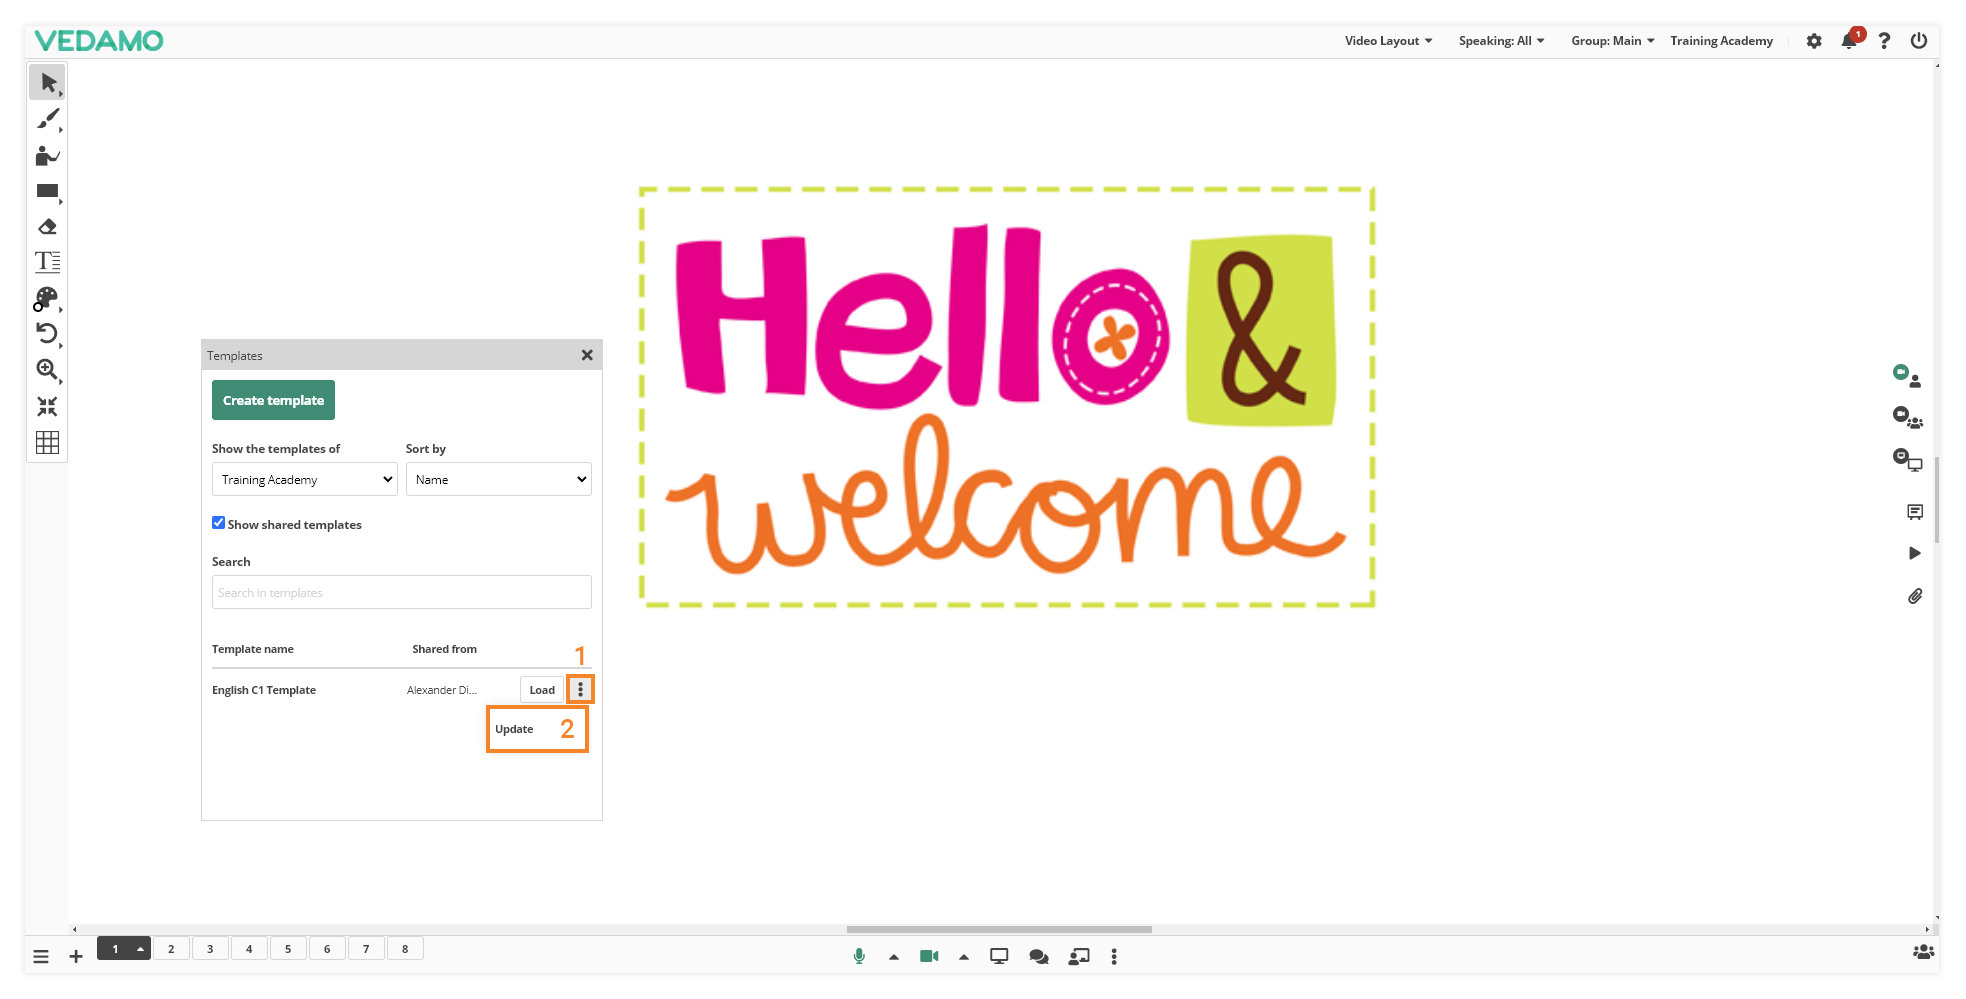
Once you are inside the room, go to “Session templates” (from the three vertical dots next to the “Chat” option). You will then see the “Templates” box. Find the template you want to update, and then load it.
In order to update an already existing template, it is very important to follow the following steps: enter a virtual classroom, load the template, change the content, and then click ‘’Update” (from the three dots-sign).
Maybe you would like to add more images on the Whiteboard or upload a video file in the Media Player that you previously forgot to include in the template. When you are ready with the changes, click the “Update” button.

Note: If you click the “Update” button before loading the template, all of its content will be replaced with the content currently on the Whiteboard, inside the “Uploaded files” box and Media player, as well as the content inside the different breakout rooms.
Templates details
Clicking on “Details” (in the three horizontal dots in the list of templates on the dashboard) opens the summary of the template.

Rename a Template
From the same three dots button, you can also rename the template and/or edit it.

Edit a Template
From the File Library you will have to navigate to the Sessions Templates tab. After selecting the “Edit” option a Virtual Classroom will open (templates only), where you can make your changes. Once you are done editing, click the three-dot sign, and then you will have to press the “Update” button (or “Create template” if you want to keep the original one and make an updated copy of it).

Note: Templates can be edited even from a stand-alone Virtual session (besides the “Edit” option discussed above) by finding the “Session templates” option and loading the template you want to edit.
After loading the correct template and making the changes you have to select the “Update” button in order to save the changes.
Delete a Template
In order to delete a template, go to the “File Library” section, select the “Session templates” tab. Find the template you would like to delete in the list, and click on the three horizontal dots. You will then see the “Delete” option.
