Video materials are often praised by educators as an effective educational tool. In 2015, The Center for Teaching at Vanderbilt University classified effective online learning video production techniques into 4 main categories depending on the content:
- Signalling – this concerns the use of texts or symbols on the screen to highlight your point. It aims to draw the attention to a particular idea in the video material. Additionally, signalling may be used when you want to show some keywords or phrases. Moreover, you can change the color or compare and contrast different pieces of information.
- Segmenting – this is used when you want to divide information into bites. This is helpful when you want to draw the attention of online students to a particular segment of the video content. Some online tutors prefer to create micro videos within the general video flow that cover only a single topic or idea. It is a good way to break up longer videos. Additionally, a segment can be a quiz or a live poll in the virtual classroom.
- Weeding – this is used when you want to eliminate unnecessary information and leave only the key points. Focus on your goal and don’t get distracted by the abundance of extra information that you want to share with your audience. Keep things simple and straightforward. Eliminate distracting music and animations and don’t overload your video with facts.
- Matching Modality – if you still want to provide extra information, you can use the matching modality technique. It combines different streams to match pieces of the whole. Combine two channels by dividing the screen. Thus, you can show and complete a topic from a different point of view. Additionally, this is a great way to keep the audience active and engaged.
DIY videos

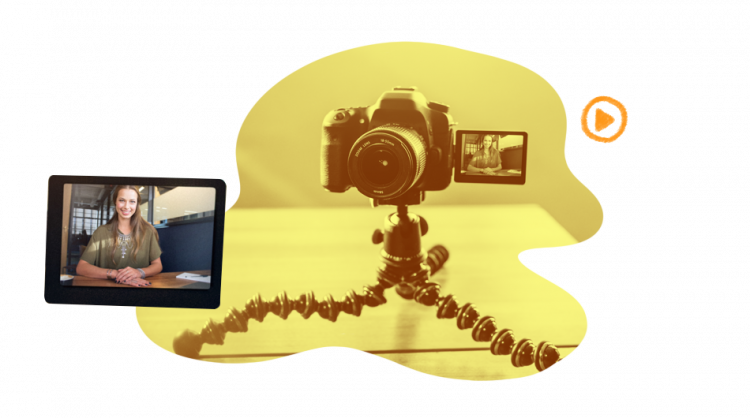
Speaking of great videos, you may find it discouraging to try to be the next video superstar among online tutors. However, it is not necessary to pay extra money for quality videos. A good alternative is to produce your own and personalize it according to your specific needs. Here are the steps to follow if you want to jump into the DIY video adventure:
Focus on your goal
Start with the idea of why you are creating a specific video. If the video does not mesh with the course, your online students may not even pay attention to it. Clarify what you aim to achieve: to demonstrate a technique or a process, to summarize a unit, or to trigger the emotions of your audience. A clear goal will also give you an idea about the desired length. Statistically, the attention span of online learners when it comes to video material is no more than 6 minutes.
However, this doesn’t mean that a video can’t be longer than that. The key is to make the video relevant.
Invest time in script writing
No matter how experienced an online tutor you are, it is still helpful to have a plan for the creation of educational videos. Each screen should be informative, as well as logically linked to the previous and subsequent screens. Having all of the details previously written down or drawn out will help you eliminate the chance that your learners will get lost. Using a story approach is a great way to engage your online students. After scripting and clarifying the terminology and the general plot of your video, it’s time to storyboard your idea. This means visually planning each scene in the video. Additionally, make sure you’ve included a brief description of your production in the beginning.

Setting the scene
Ok, so now you know what you will be talking about, you have written your script, and have a clear idea about the separate scenes. Therefore, it is time to execute it. You will be surprised how many details are involved in the shooting of the video. Your online students will be disappointed and distracted if your sound or light are off. It is best to choose a single location and to modify it according to your needs. Eliminate any distractions while shooting your scene – if you are shooting outside, for example, make sure it is quiet enough. Also, pay attention to the surroundings for any other unexpected distractors. Additionally, think about what you are wearing, body language, and any effects that you will add later on.
What about captioning
Before creating an online training program or a video, you should know your audience. Pay attention to the native language and age of your students. Additionally, pay special attention to those with possible impairments or other issues that students may have with hearing the videos. In some cases it may be helpful to use captions.
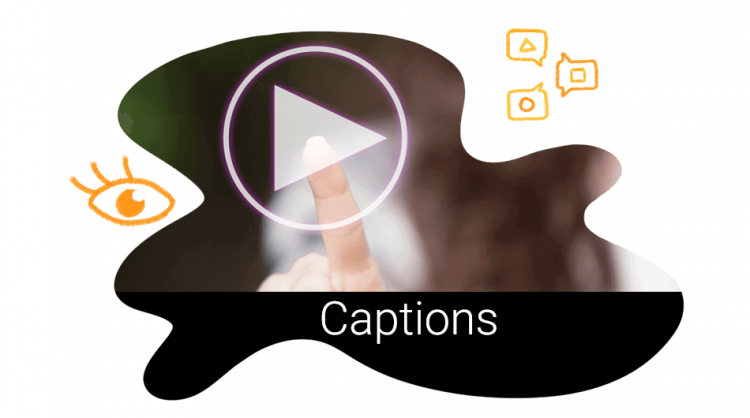
Captioning provides a synchronized text transcript of the audio for any type of multimedia. Therefore, the information can be read as well as heard. This alternative method of delivery is beneficial for every student in your virtual classroom. Captions can be combined into a video transcript. Written text does a good job of supporting the speaker and helps to emphasize the information. Therefore, for different type of learners, providing information in different ways can be very beneficial.

Main benefits
- Providing captions makes your content available for individuals with hearing impairments
- Non-native speakers of the language can be involved in the learning process
- It’s recommended for listeners who have difficulty understanding different types of accents
- It is an excellent solution for online students who benefit from seeing and hearing information simultaneously
- It is best for visual learners
Captioning tips
- Use a separate text file for your video and upload it as a caption
- Include a downloadable file alongside the video
- Consider adding black to the bottom of your video to leave room for captions to appear without covering any of the footage
- Captions are usually displayed on the bottom 1/3 of the screen. Use this area wisely and select an appropriate font and size for your captions.
